
Hi guys in today's tutorial i am going to free your blog from from being reduced. Yeah i said reduced!! The reason why i used reduced is that when you are still using your default domain name:
With all this things i have listed above you will see that it's very necessary to change from the local domain name to a custom domain name. Which is why i have made research and noticed that most bloggers don't have money to buy a domain name. That's why i have taken my time to create this tutorial. Yeah to cut the long story short let me go straight to the point. And i also noticed that the search result of how to change blogspot to dot tk will bring out old stuffs which does not work for the new dot tk site. Please take your time when following the tutorial.- Google adsense will not approve your blog.
- infolinks will not approve your blog.
- propeller ads will not approve your blog.
- Google search engine will not rate your blog the way you want.
Step 1.
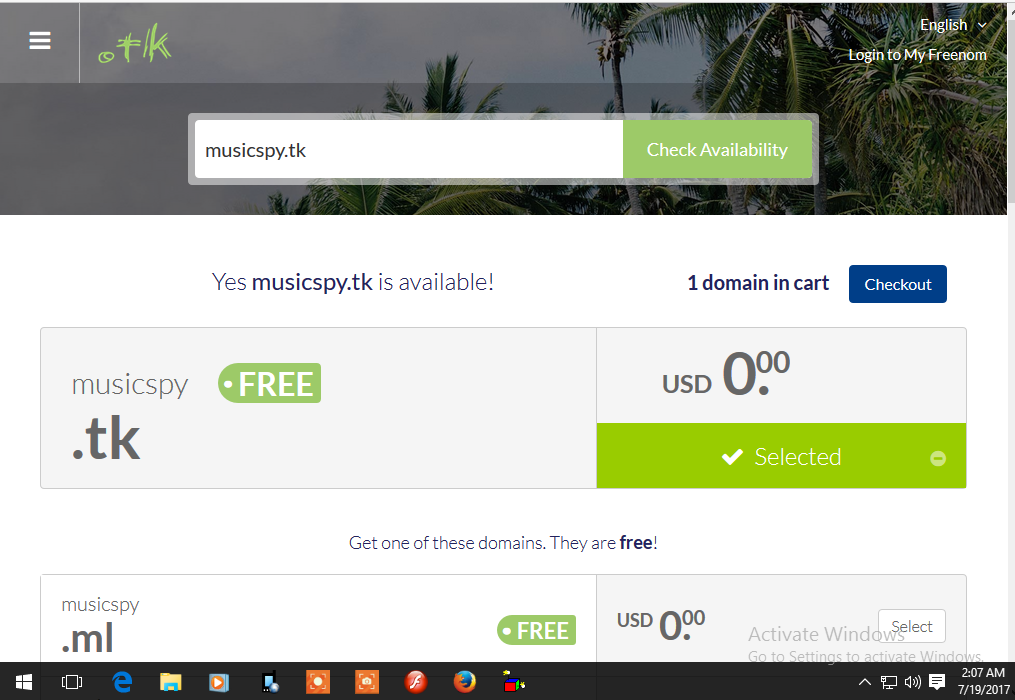
- Go to DOT.TK website.
- Choose a domain name that you know will suite your business. If your selected domain has not been taken by another user it will prompt you to as the screenshot below else it will ask you to enter another domain name.

It will prompt you to this page.

Then you choose forward this domain and enter your domain name link and press continue.
After pressing continue the nest page should look like the screenshot below.

After clicking the verification link the page that it will display should look like the screenshot below.


After clicking complete order the next page should like below.

- Logon to your blogger account and go to settings. see screenshot below.

Then click on setup third-party to your blog. The page should look like below.
 Then enter the domain name you have just registered. NOTE: It must include www.


Step 3:
Logon to your dot tk site.

Now go to service section then choose my domains. see screenshot below.

Then it will take you to another page which looks like the screenshot below.


It will take you to the page below.


then you have to click more field to add another field now paste the other cnames which is different for every blog and select CNAME also. see screenshot below.

Now go back to your blogger page then click save.


0 comments: